A metronome can be a great tool to help with our piano practice, and whilst we can use metronome apps or even an old-school physical metronome, sometimes it’s easier to use the metronome built into our keyboards, so that we can have the metronome click and the keyboard sound coming from the same place.
You can change the Kawai ES100 metronome’s time signature, volume and tempo/click speed.
On some keyboards however it’s hard to figure out how to actually use the functions. Here’s how to use the metronome on the Kawai ES100 digital piano:
How to Turn the Metronome On and Off on the Kawai ES100 Keyboard

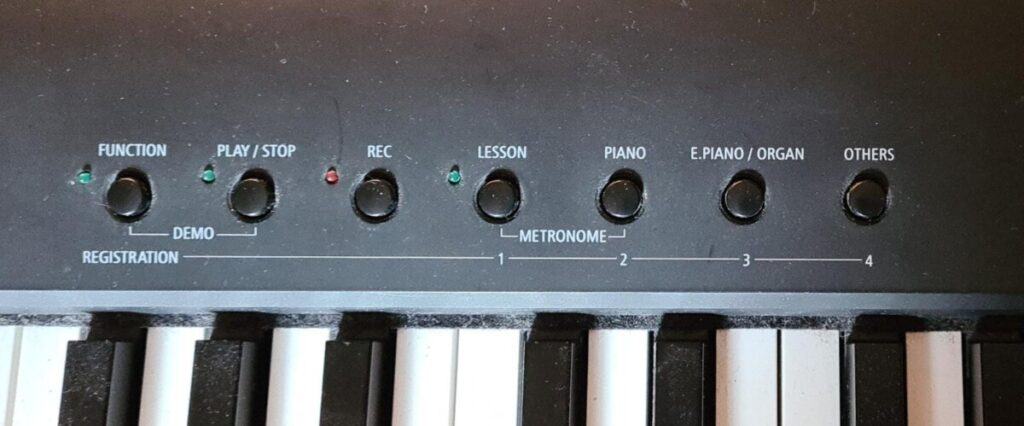
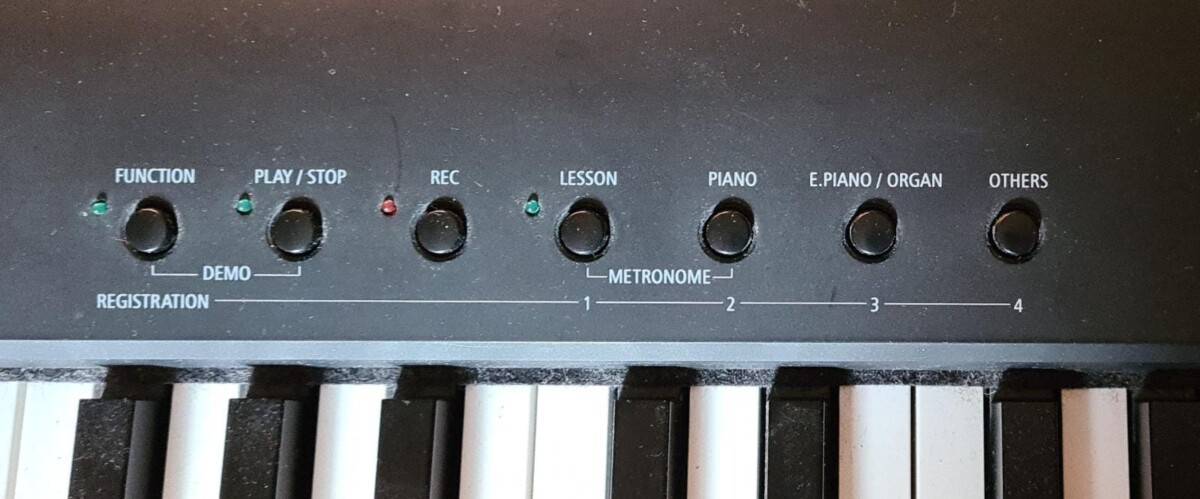
To turn the metronome on, press and hold the LESSON button, and then press the PIANO button.
To turn the metronome off, repeat these steps i.e. press and hold the LESSON button again, and then press the Piano button.
By default the metronome will click at 120 bpm and with a time signature of 1/4. To change the speed/tempo and the time signature, read on.
How to Change the Metronome Speed on the Kawai ES100 Keyboard
The metronome on the Kawai ES100 digital piano can be set to 7 different time signatures: 1/4, 2/4, 3/4, 4/4, 5/4, 3/8 and 6/8.
To change the metronome speed, press and hold down the LESSON and PIANO buttons and then press one of the following black keys on the keyboard:
| Time signature | Key to press |
| 1/4 | The lowest A# key on the keyboard |
| 2/4 | The lowest C# key |
| 3/4 | The lowest D# key |
| 4/4 | The lowest F# key |
| 5/4 | The lowest G# key |
| 3/8 | The 2nd lowest A# key |
| 6/8 | The 2nd lowest C# key |
How to Change the Metronome Volume on the Kawai ES100 Keyboard
A great feature of the Kawai ES100 digital piano’s metronome is that you can change its volume. This means that you can match the metronome volume to the volume that you are playing, and is especially helpful if you are playing with headphones so that you can get the balance just right.
To increase the metronome volume, press and hold down the LESSON and PIANO buttons and then press down the B key that is the 3rd lowest B on the keyboard (i.e. press the B note that is just over one octave lower than middle C). You can press this B key up to 10 times – each press will make the metronome volume louder until you reach the maximum volume.
To decrease the metronome volume, press and hold down the LESSON and PIANO buttons and then press down the A key that is the 3rd lowest A on the keyboard (i.e. press the A note that is just over one octave lower than middle C). You can press this A key up to 10 times – each press will make the metronome volume quieter until you reach the minimum volume.
How to Change the Metronome Tempo/Speed on the Kawai ES100 Keyboard
The metronome speed on the Kawai ES100 digital piano can be adjusted anywhere from 10 bpm all the way up to 300 bpm. The default metronome starts out at 120 bpm.
To increase the metronome speed, press and hold down the LESSON and PIANO buttons and then press down the lowest B key on the keyboard repeatedly to increase the metronome speed by 2 bpm per press.
To decrease the metronome speed, press and hold down the LESSON and PIANO buttons and then press down the lowest A key on the keyboard repeatedly to decrease the metronome speed by 2 bpm per press.
How to Use the Drum Beat Feature on the Kawai ES100 Keyboard
We all know that practising with a metronome can be boring sometimes, so I often suggest to my students that they replace their metronome with a fun drum rhythm of the same bpm so that it’s like they are practising along with a band.
To select a drum rhythm on the Kawai ES100 digital piano, press and hold down the LESSON and PIANO buttons and then press the highest key on the keyboard (C) repeatedly to cycle through the 100 options. You can also press the 2nd highest key on the keyboard (B) to go backwards through the selection.

